WinSCP is a file transfer software which supports
SSH in which data is encrypted during connection.
It is open-sourced and supports windows. It also
supports Legacy SCP protocol. Its main function
is to transfer files safely between a local and
remote computer.
I.
Download WinSCP
II. Install
WinSCP
III.
Connect to the server
IV.
Transfer files
V. Quit the
session
I.
Download WinSCP
- Download the installation package of WinSCP 5.7.7 and save it on the Desktop
top of the page
II.
Install WinSCP
- Double click winscp577setup.exe on
the Desktop
- Click Next
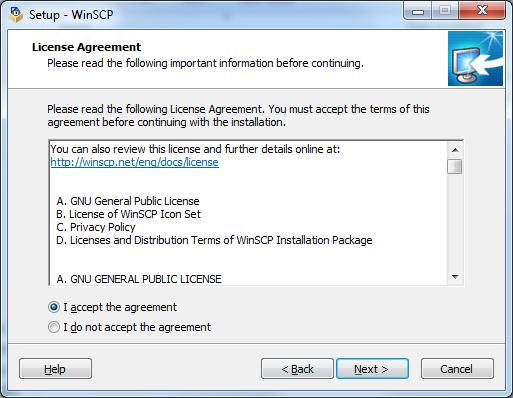
- Accept the license agreement and click Next
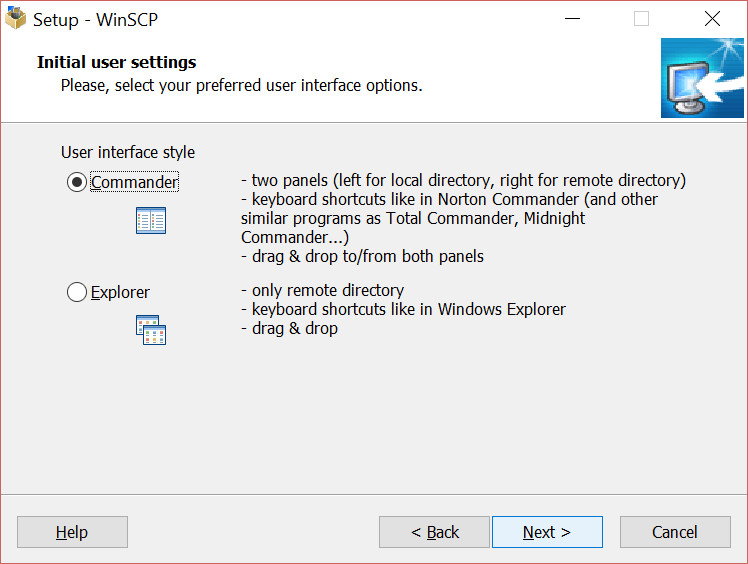
- Click Next
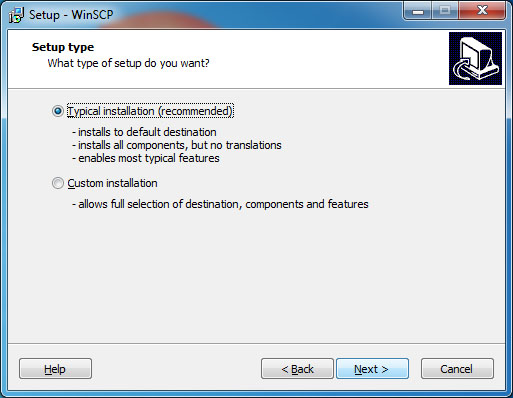
- Click Next
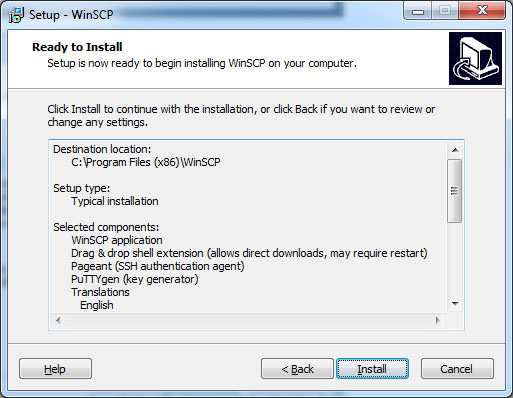
- Click Install
- Click Finish
top of the page
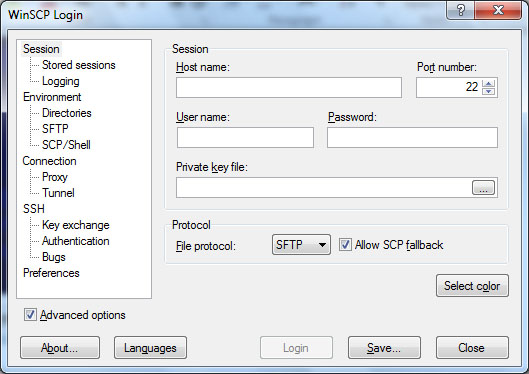
III.
Connect to the server
- Double click WinSCP on desktop

- Type in the server address that you want
to login in Host name
Type in your user name and password.
Click Login
top of the page
IV. Transfering
files
- Left panel shows the local directory (the
computer you are using)
Right panel shows the remote directory (the
server side)

- To copy an item from one side to another:
- click on an item
- click copy on
the bottom of the
program
- click copy
or
- drag the item to
the other side
- click copy
top of the page
V. Quit the
session
- Click Quit on the bottom
of the program
or Press F10
or Click the close button
- Click ok
top of the page
|

